Free Auto Photo Enhancer — One Click to Make Photos Pop
Some photos look flat the moment you take them: slightly dim, slightly washed-out, slightly soft. A free auto-enhance tool fixes 80% of those in one click — without learning Photoshop.
Why Most Photos Look Slightly Off
Cameras and phones rarely capture a scene the way your eyes saw it. The lens averages light, the sensor compresses dynamic range, and the auto-white-balance often shifts colors. The result: photos that are technically fine but visually flat.
The classic three-step fix — auto levels + saturation boost + sharpen — solves 80% of those flatness issues. That's what BigImg's auto enhancer does, in your browser, in under a second.
Four Strength Modes Explained
- Light — subtle. Tiny brightness/saturation bump, gentle sharpen. Use when you only want a small polish without changing the look.
- Medium (default) — balanced. Auto-stretch the levels, +18% saturation, mid sharpen. Works on 90% of phone photos.
- Strong — punchy. +30% saturation, sharper edges. Great for travel photos you want to post on Instagram.
- Restore — old / faded photos. Aggressive level normalize, +45% saturation. Specifically tuned for photos that have lost color over decades.
Step-by-Step Guide
- Open BigImg AI Image Enhancer.
- Drag your photo onto the upload area.
- Pick a strength preset (start with Medium if unsure).
- Click Enhance. Done in under a second.
- Drag the slider on the result to compare before/after.
- If too flat, try Strong. If too punchy, try Light. Old photos? Switch to Restore.
- Download.
Pairing Enhance with Other Tools
Enhance shines as a final polish step. The most common combos:
- Old photo restoration: Denoise first to remove grain, then Enhance with Restore mode to bring back color and contrast. See our old photo restoration guide for the full workflow.
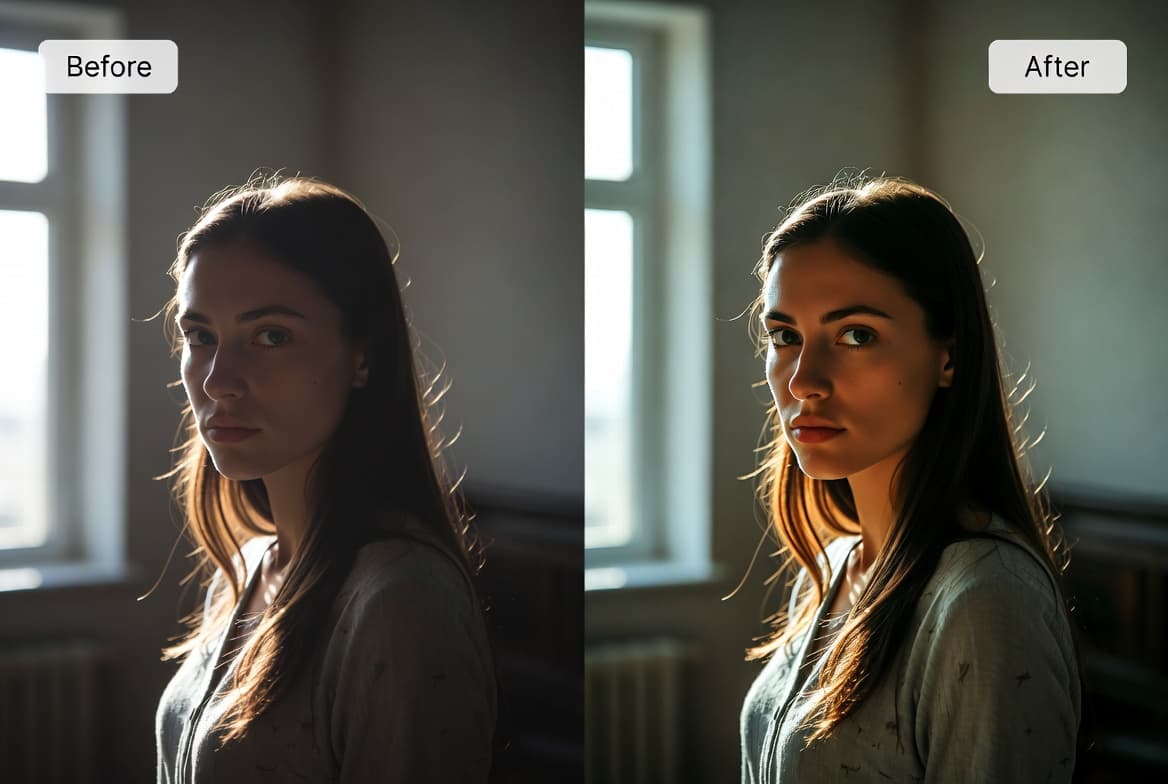
- Indoor phone shots: Denoise to clean grain → Enhance to boost the color you lost
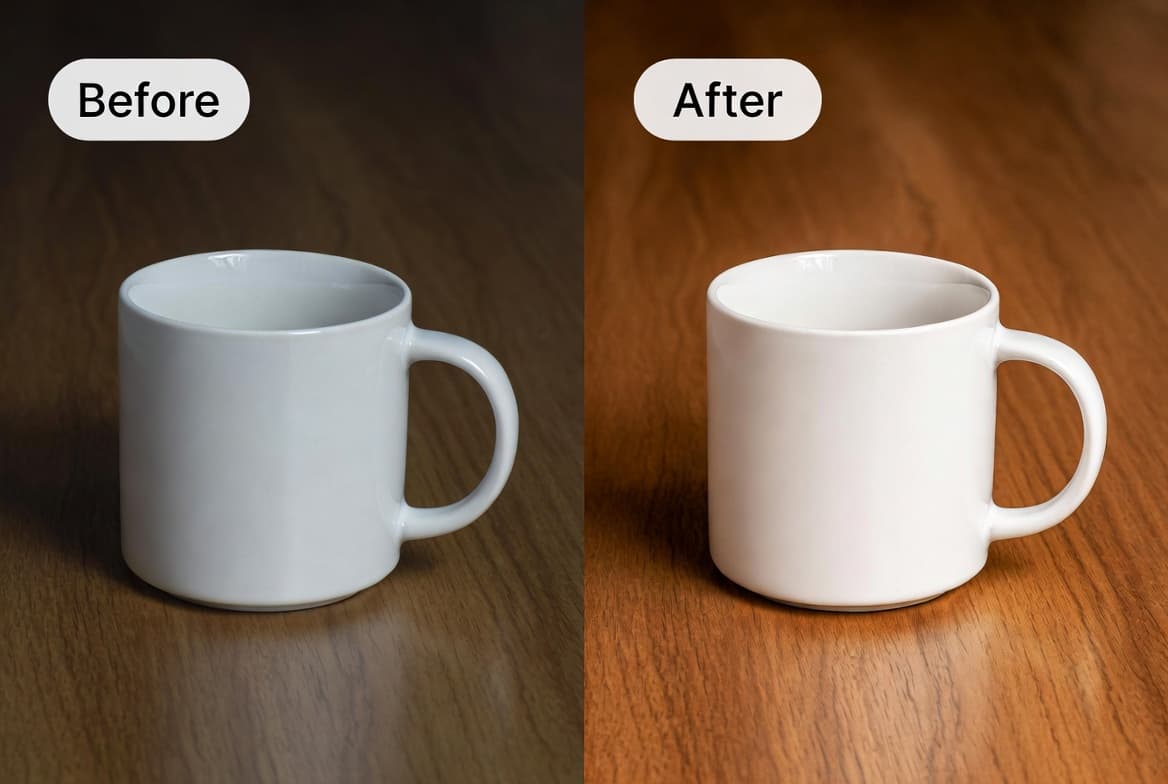
- Ecommerce product photos: Background remove → Enhance for crisp, vivid product on white
- Print prep: Upscale 2x → Enhance for sharp, color-rich large prints
Why It's Free Forever
Unlike our other AI tools, the enhance pipeline runs purely on the server using classical image processing — no expensive Replicate API calls. So we can offer it without quotas. Use it 100 times a day if you want.
Limitations
Auto enhance is not magic. It works on lighting/color/sharpness — not content. It won't:
- Fix focus blur (use a sharpening tool, but reality is: blurry is blurry)
- Replace missing parts of an image (use AI inpainting / generative fill instead)
- De-noise heavy grain (use our denoiser first, then enhance)
- Fix wrong white balance dramatically (works for slight shifts; large color casts need manual correction)
Try the auto enhancer now
Free forever, browser-based, with live before/after slider. No account needed.
Open Enhancer →